Creating Custom Widgets
- Click Course Admin.
- From the Course Administration page select Widgets.
- From the Widgets page click on the Create Widget button.
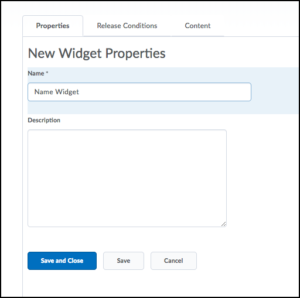
Properties:
- On the properties, tab provides a name for the widget in the name field.
- Enter a description if required.
- Click Save.
Release Conditions:
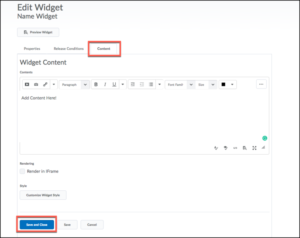
Content:
- Click on the Content tab to add content to the widget.
- Use the HTML editor to add text, images, links, etc. to the widget.
- To preview the widget click Preview Widget.
- When finished click Save and Close.