How to Add Your Recording to NameCoach
We recommend using Chrome, Edge or Firefox as your browser, other browsers are not supported and will not work as expected.
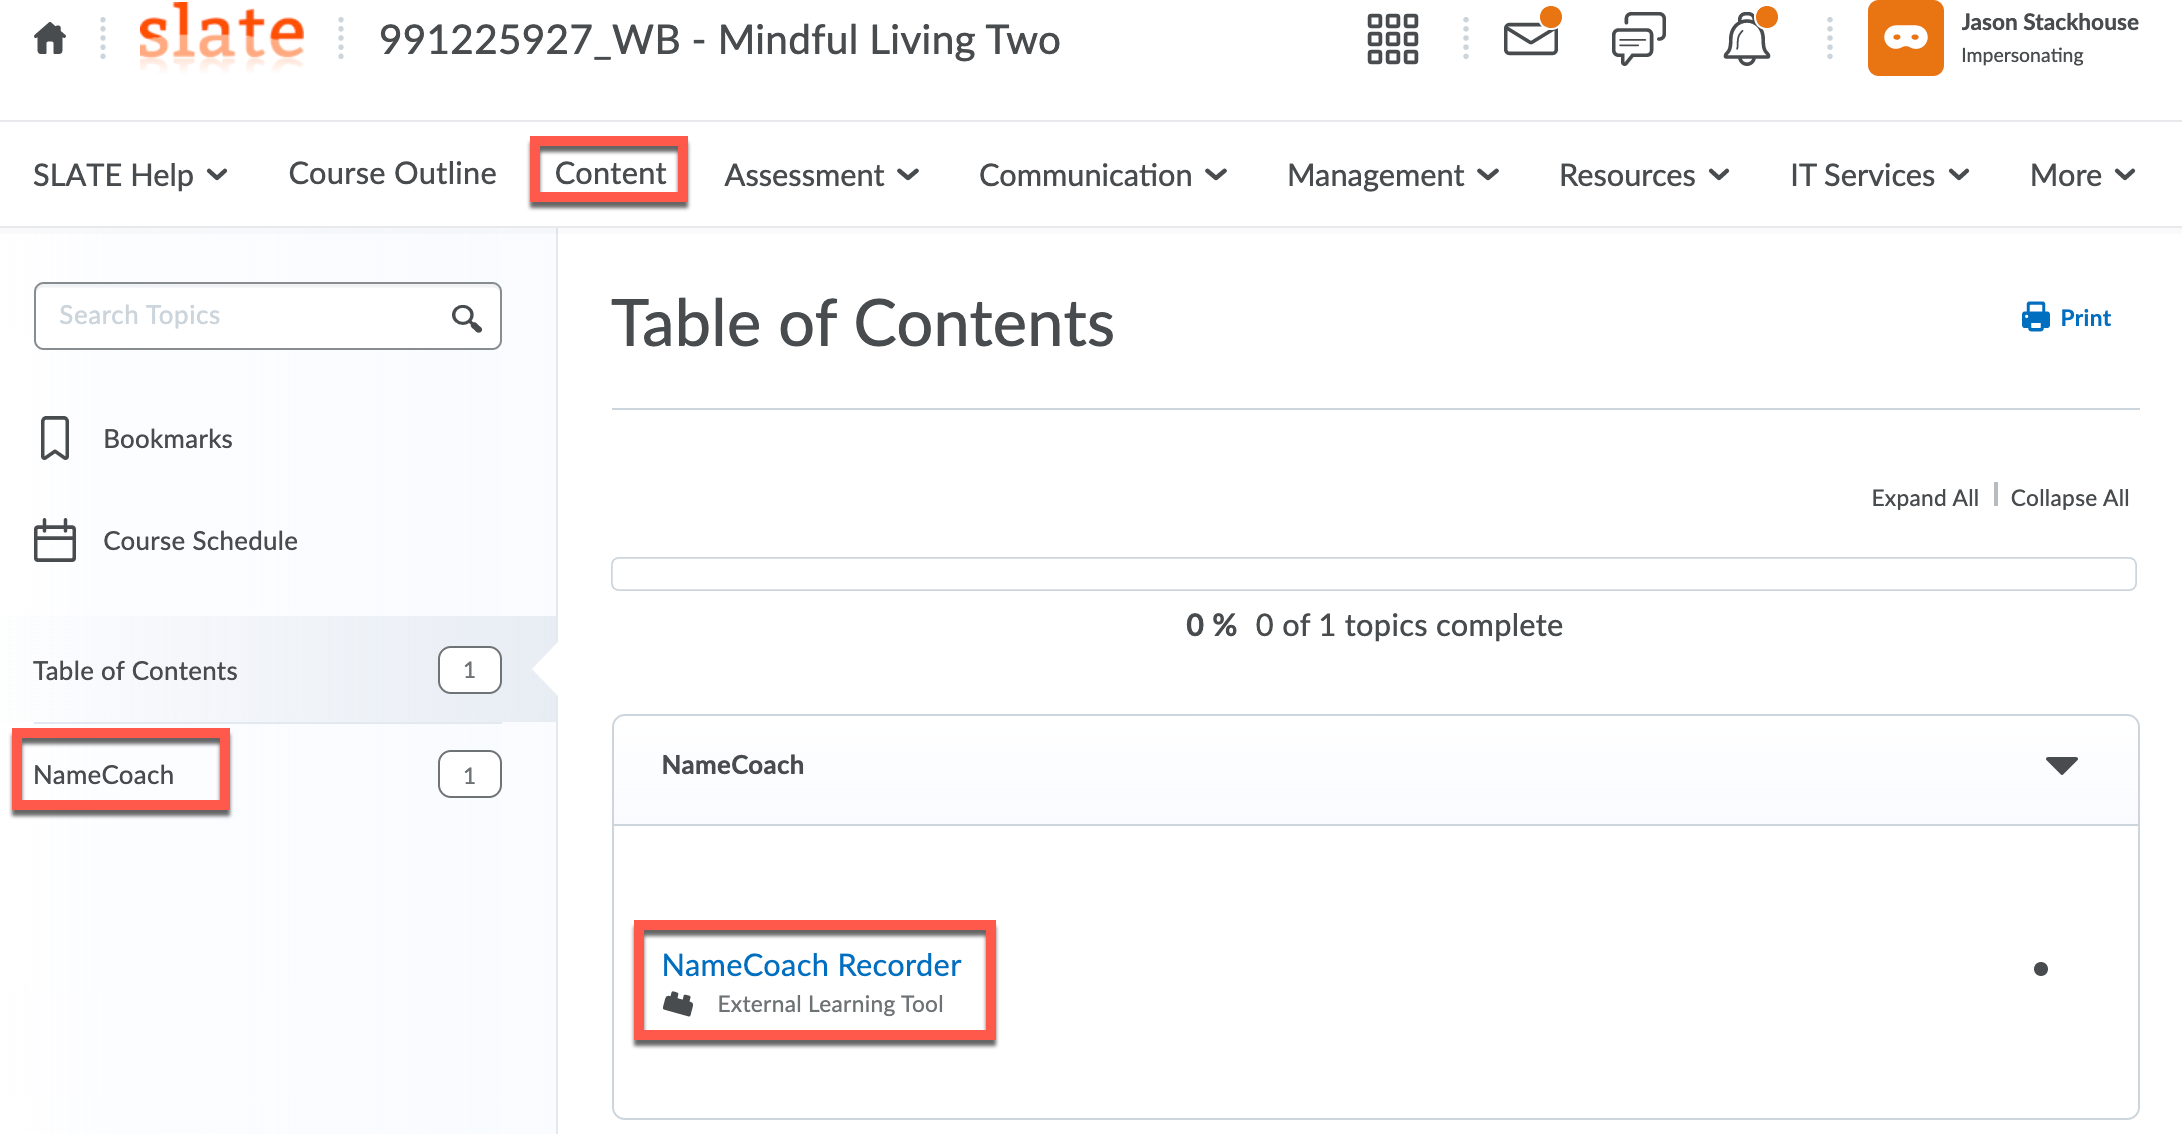
- Go to the NameCoach folder under Content, and choose the NameCoach Recorder. Note: This will only be available if your instructor has added it.
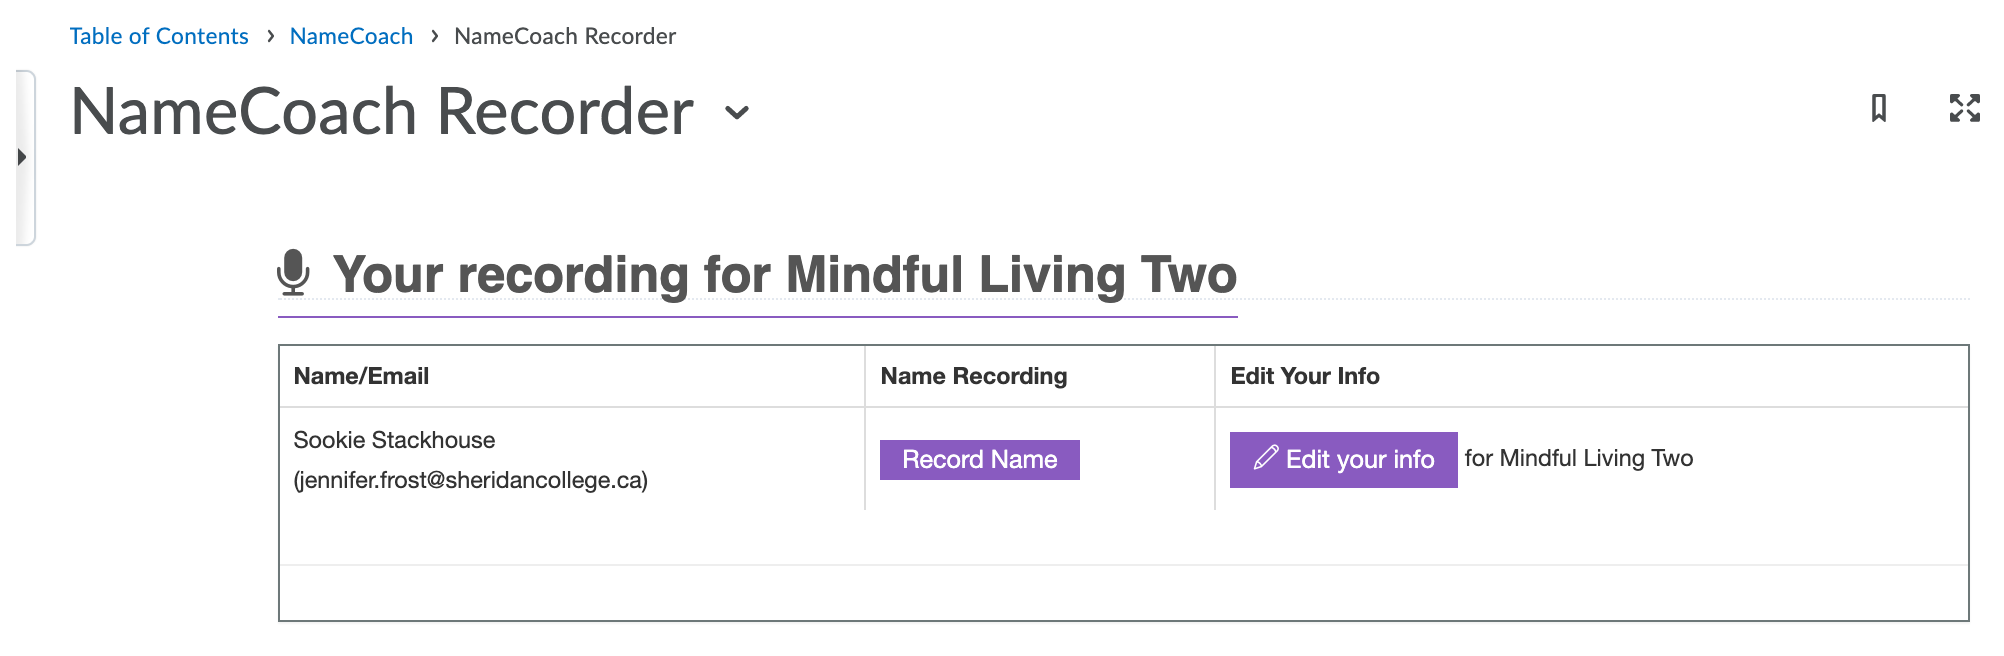
- Under your name click Record Name. If you have recorded your name previously you can update it by choosing Edit Your Info.
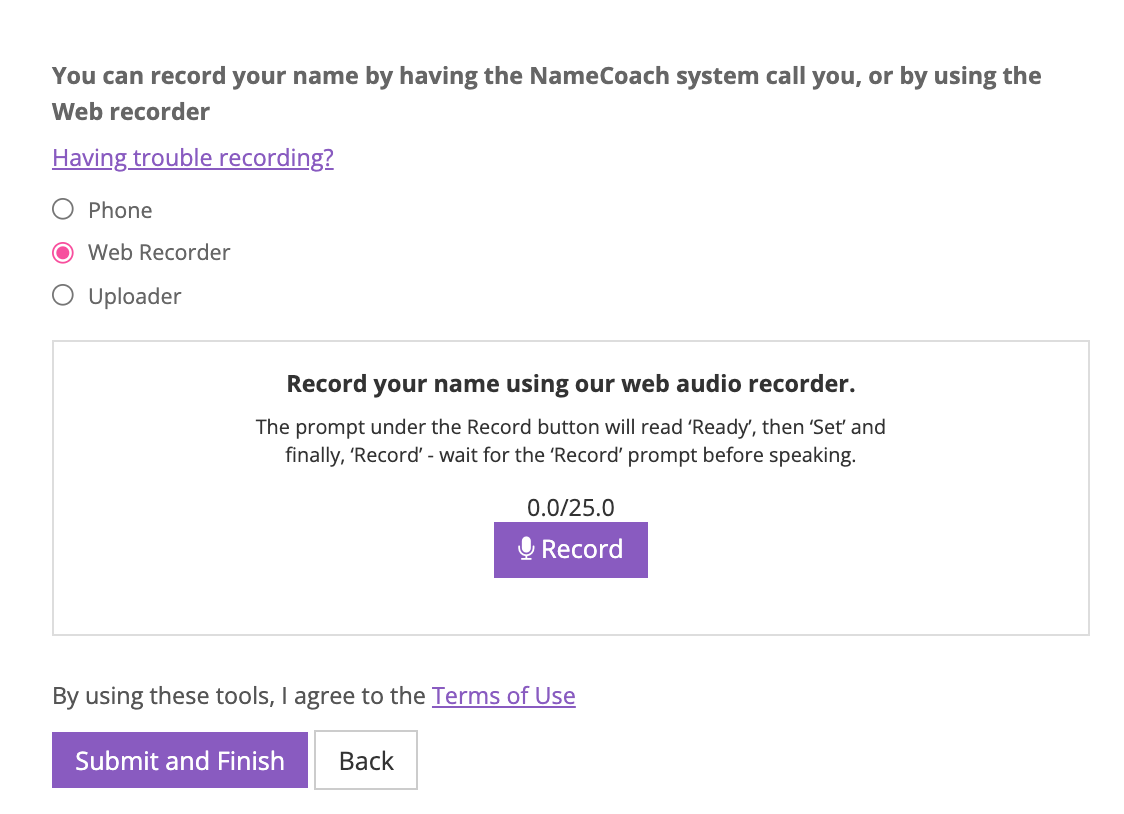
- You’ll have three options to record your name, use whatever option works best for you.
- Uploading a File: this option will allow you to navigate to a file on your computer. The file has to be under 1MB and the file types allowed are .wav or .mp3, and only 1 file is allowed.
- Using your Cell Phone: NameCoach will call you to record your name.
-
- This option is currently only available in the following countries: (US, UK, NZ, MX, KR and Canada)
- Using the built-in web recorder: will allow you to record your name easily through their built-in web recorder.
For the example below, we are using the Web Recorder. When you are ready click Record to record your name.
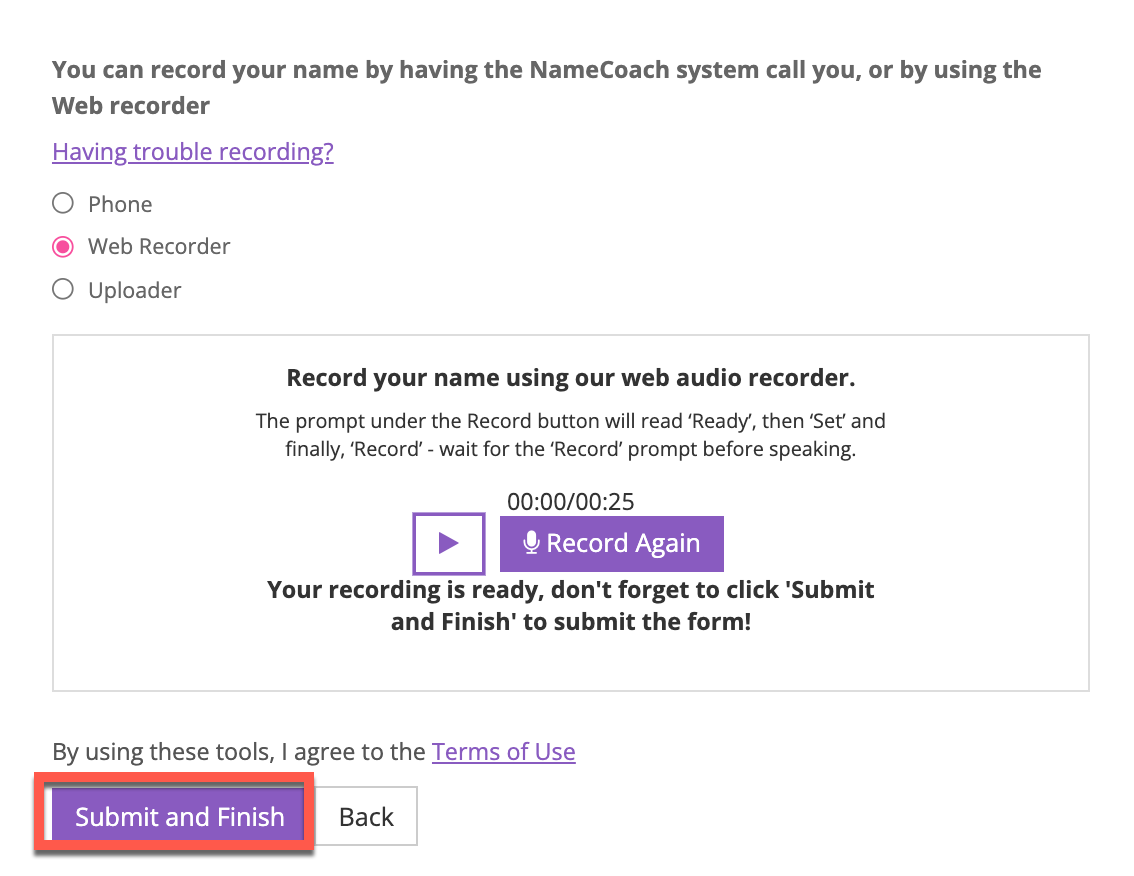
- You will be able to listen to your recording and click Record Again if you’d like to change it. Once you have completed this step in the process, be sure to Submit and Finish when you are ready.
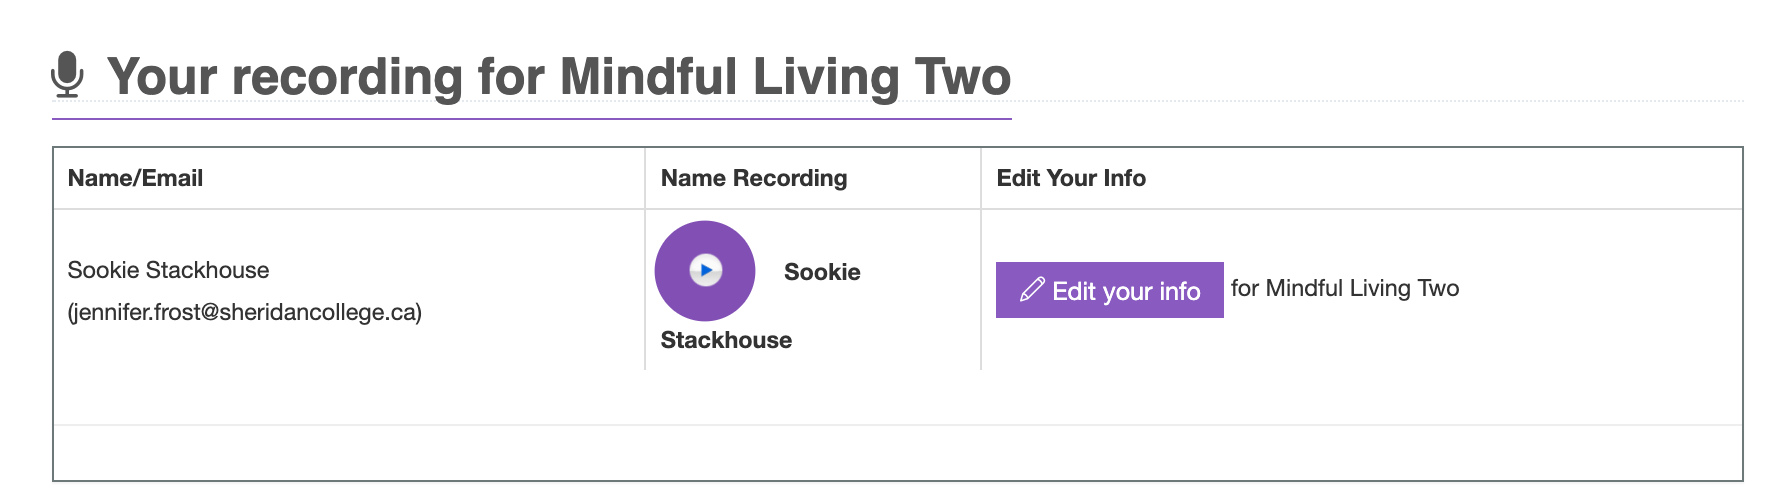
Once your name is recorded your screen will look like this. You are all set! You can come back at any time to edit your recording under Edit Your Info.
- Once you record your name it will automatically be added anywhere that NameCoach is enabled in SLATE.