Creating Grade Categories
Grade categories help you organize the items in the gradebook
Access the Manage Grades Area:
- Select Assessment>Grades from the course navbar.
- Select Manage Grades
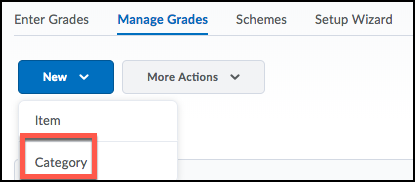
- Click on the New button
- Select Category
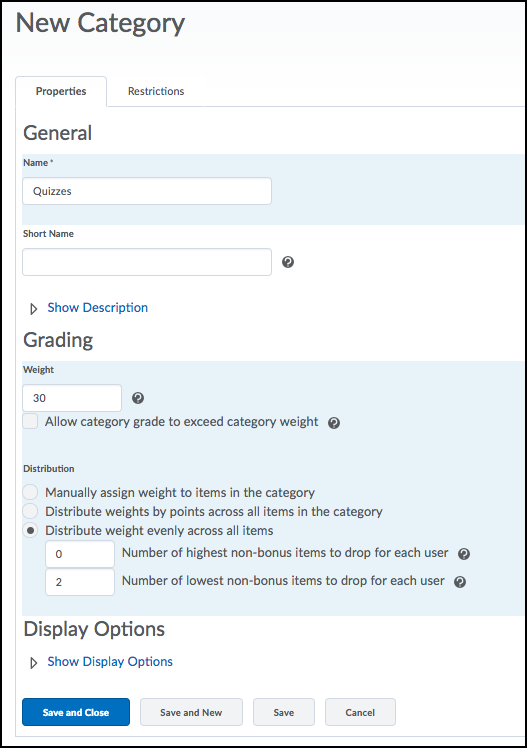
General:
- Enter a name for the category in the name field.
- Provide a short name if your grade category name exceeds 15 characters.
- Provide a description of the category in the description field
-
This is a great place to communicate the grade distribution if you are dropping grade items. Make sure you select ‘Allow users to view description’ if you want students to be able to see this area.
-
Grading:
- Enter the weight (%) the category will contribute to the Final Grade.
- Under the distribution heading select how you would like to distribute the weight or points
For the weighted system select one of:
-
- Manually assign weight to items in the category: Calculating and setting item weights enables you to control the weighting of individual items that belong to a weighted category.
- Distribute weights by points across all items in the category: Uses the points of individual, non-bonus grade items to determine the relative weighting of each item out of 100%.
- Distribute weight evenly across all items: Gives all grade items equal weighting in the weighted category regardless of the number of points the individual item is out of.
Display Options
Choose your display options
Save and Close